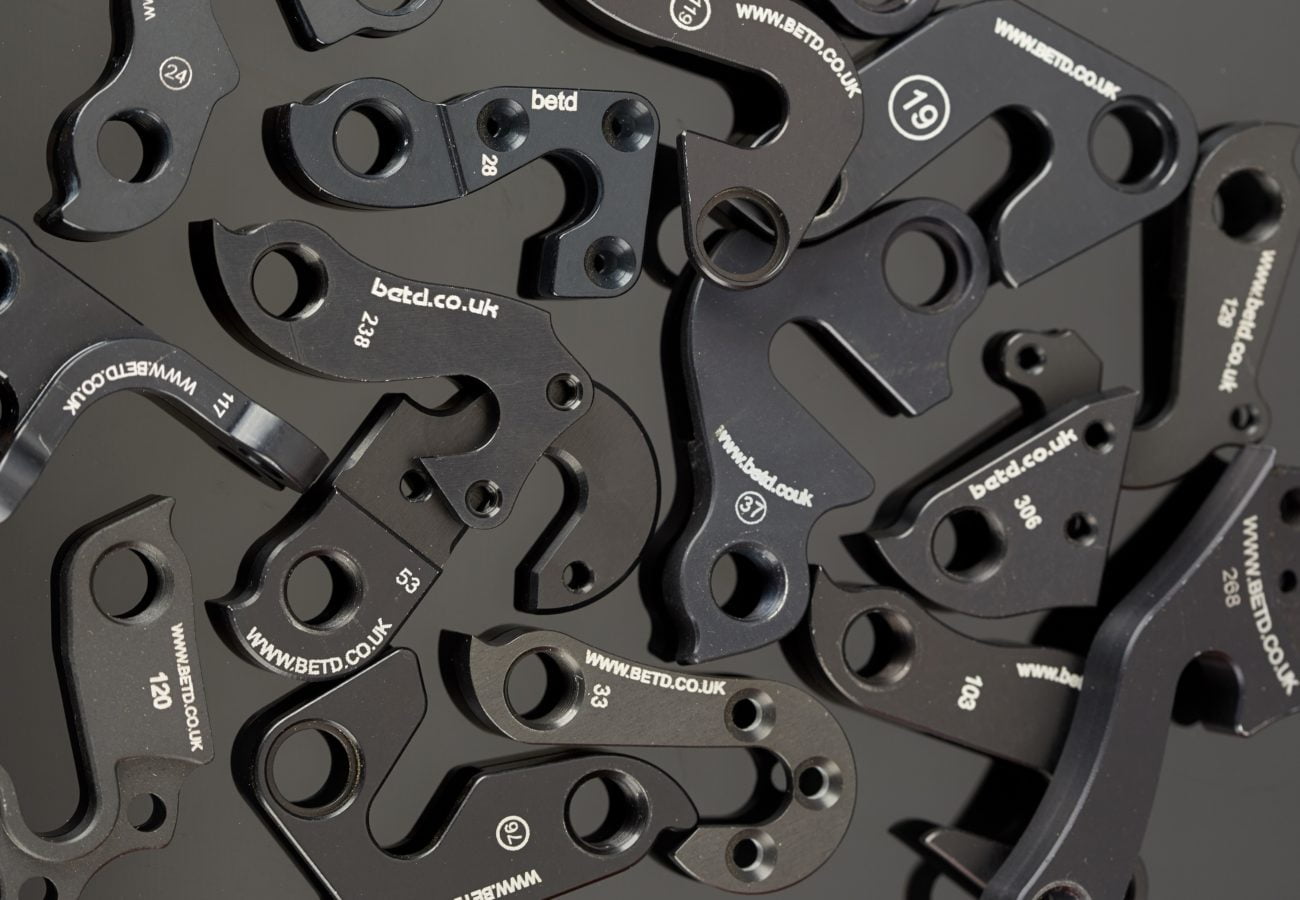
Here at BETD, we’re the proud owners of the biggest collection of derailleur hangers in the world, stocking 400+, 6082 T6 aluminium, CNC machined rear mech hangers, anodised in black, and produced in our very own factory right here in the UK. Since derailleur hangers are often specific to make, model, and sometimes even year of production, you’re more likely to find the right hanger here than anywhere else.
But how do you replace your current derailleur hanger?
The Tools:
• Hex keys
• Torx keys (for installing some SRAM derailleur)
• Bike cleaner
• Bike grease
The Method:
Firstly, prep your bike for the installation of a new derailleur hanger by mounting in a repair stand. Check over your bike for any other breaks and gain access to remove the old hanger by using the hex keys to loosen and remove the bolt that connects the derailleur to the hanger.
Secondly, clean the dropout area thoroughly with bike cleaner and a rag. Then, with a lubricant of your choice, grease up the inside and outside of the frame, cleaning up any threads as necessary. (If you have a direct mount derailleur hanger rather than a standard dropout derailleur hanger, you need to remove the B-link from the derailleur if you haven’t yet.)
Thirdly, place the derailleur hanger on the frame in the correct position. It should fit in one position with the notch pointing to the rear of the bike. Screw it into place but ensure you avoid cross-threading by not overtightening the bolts. (If you have a B-link there should be no gap between the B-link and the notch of the hanger.)
Lastly, mount the derailleur back onto the derailleur hanger with the appropriate hex key. Then you can reinstall the alignment. If you’re unsure how to check the alignment then visit our blog Derailleur Hanger Alignment for detailed instructions.
If you’re searching for a derailleur hanger or want to know more about BETD, then visit our website or contact us on 01782 563415 or via info@betd.co.uk.